
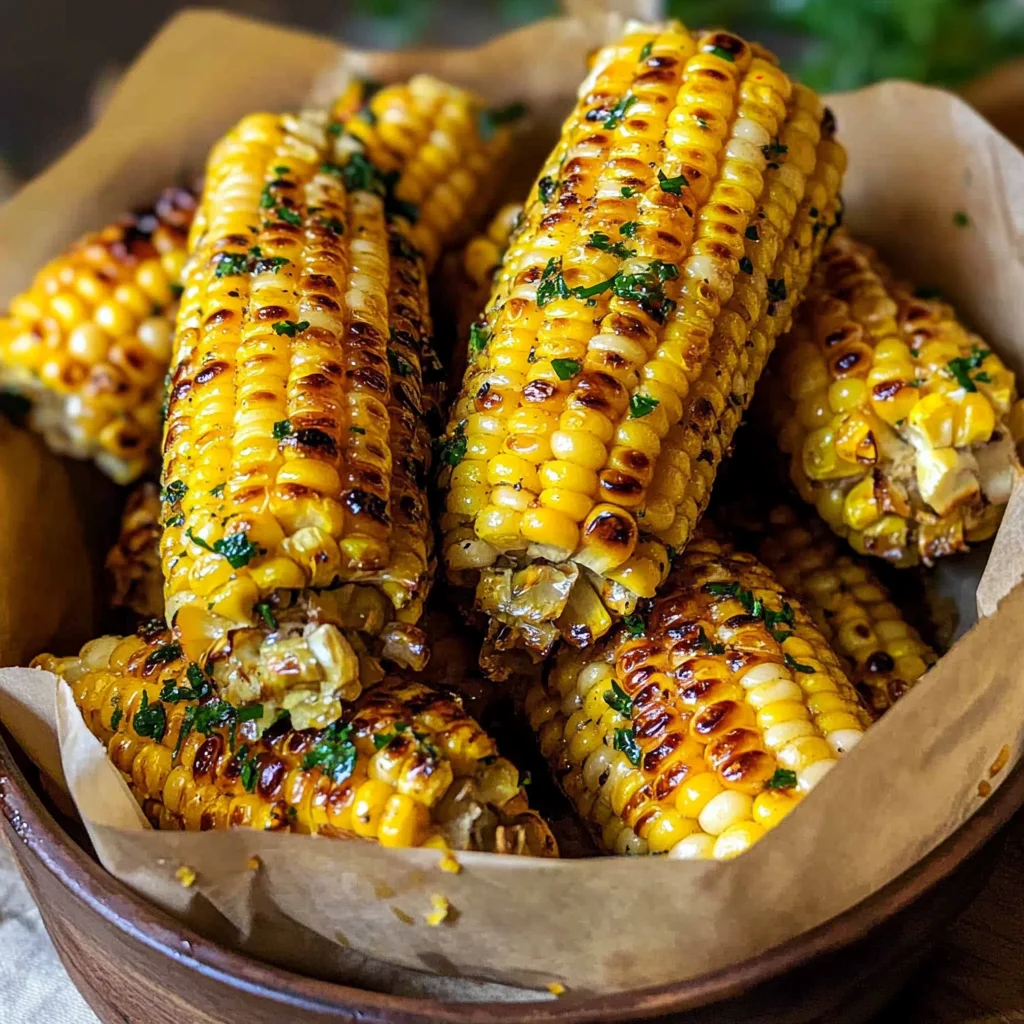
Imagine sinking your teeth into a perfectly roasted ear of corn on the cob, the golden kernels bursting with sweetness and a hint of smokiness. Each bite is a delightful crunch, evoking memories of summer barbecues where laughter fills the air and the tantalizing aroma of grilled delights wafts through the backyard.
Now picture this: it’s a cozy evening, and you’re gathered with family or friends, sharing stories while savoring oven roasted corn on the cob that’s drizzled with butter and a sprinkle of salt. This dish isn’t just food; it’s an experience that elevates any casual gathering or festive event, promising to bring joy and flavor to every bite.
Why Is oven roasted corn on the cob So Irresistibly Good?
Sweet and tender: Each bite of this oven roasted corn on the cob bursts with natural sweetness, making it an irresistible treat.
Effortless prep: With just 10 minutes of preparation, you can easily whip up this delightful side dish for any summer gathering.
Flavor-packed: The combination of melted butter, salt, and optional paprika elevates the corn’s flavor to new heights.
Versatile delight: Serve it alongside grilled meats, toss it in salads, or enjoy it straight off the cob—this dish fits any occasion!
Crowd-pleaser: Perfect for barbecues or family dinners, this recipe is sure to impress guests of all ages.
oven roasted corn on the cob Ingredients
For the Corn
- 4 ears fresh corn on the cob (husked and cleaned) – Choose the sweetest, freshest corn you can find for the best flavor in your oven roasted corn on the cob.
For the Butter
- 4 tablespoons unsalted butter (melted) – Melted butter adds a rich, creamy texture that perfectly complements the natural sweetness of the corn.
For the Seasoning
- 1 teaspoon salt (to taste) – Salt enhances the corn’s flavor; adjust to your preference for a savory contrast.
- 1 teaspoon black pepper (to taste) – Black pepper adds a gentle kick; feel free to use more or less based on your spice preference.
- 1 teaspoon paprika (optional) – Paprika lends a subtle smokiness and beautiful color, making your dish even more visually appealing.
How to Make oven roasted corn on the cob
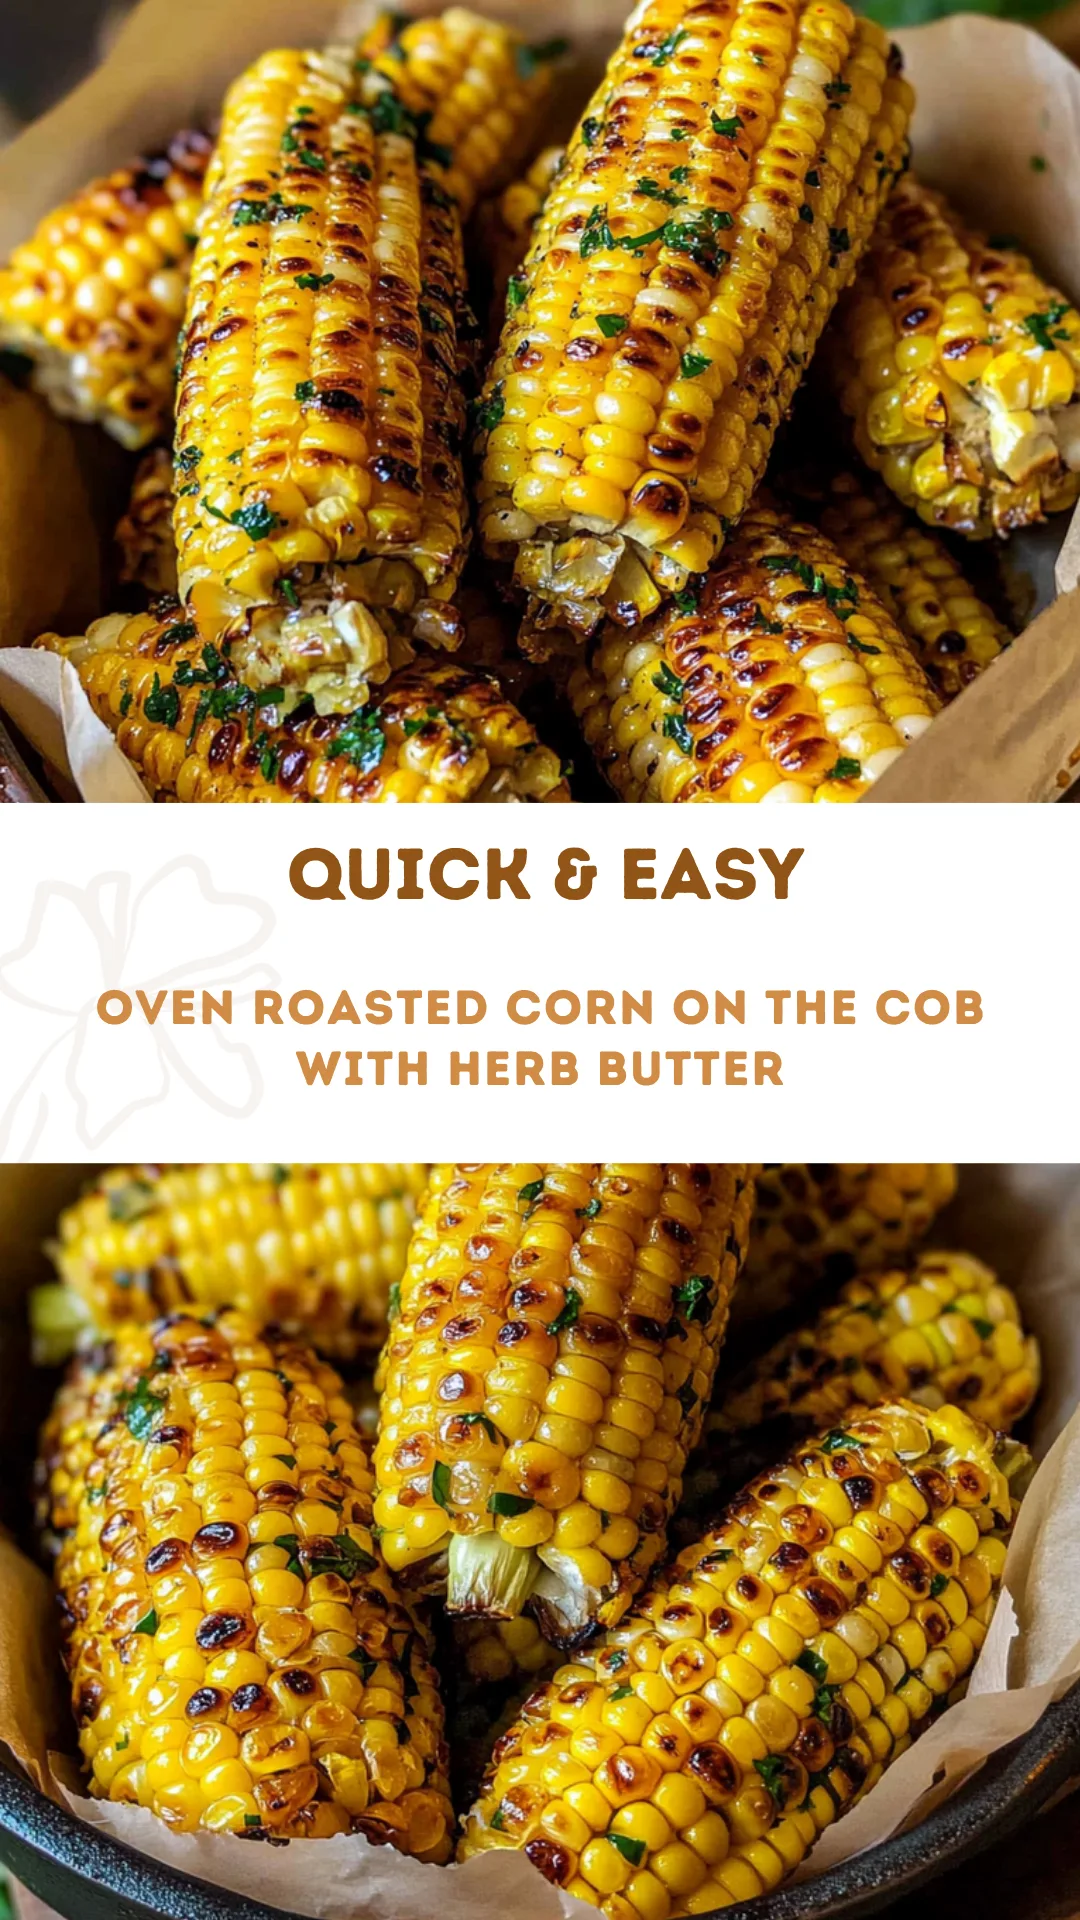
1. Preheat the oven to 400°F (200°C). This high temperature will ensure your corn becomes beautifully tender and caramelized, making it a delightful side for any summer meal.
2. Husk the corn and remove all silk. Take your time with this step; clean corn is essential for even roasting and an enjoyable eating experience.
3. Brush each ear of corn with melted butter. Generously coat them, then sprinkle with salt, pepper, and paprika if you want an extra kick of flavor.
4. Wrap each ear of corn individually in aluminum foil. This helps trap steam, keeping your corn moist and flavorful while it roasts to perfection.
5. Place the wrapped corn on a baking sheet and roast in the preheated oven for 30 minutes. The aroma will fill your kitchen, promising deliciousness!
6. Remove from the oven, unwrap carefully, and serve hot. Enjoy that first bite of sweet, tender goodness—it’s a taste of summer!
Optional: For extra flavor, sprinkle with fresh herbs like parsley or cilantro before serving.
Exact quantities are listed in the recipe card below.
Tips for the Best oven roasted corn on the cob
- Choose Fresh Corn: Select ears that are bright green with moist silk; this ensures sweet and tender kernels for your oven roasted corn on the cob.
- Thoroughly Husk: Make sure to remove all silk strands, as any leftover can burn during roasting and affect the flavor.
- Butter Generously: Don’t skimp on the melted butter! It not only enhances flavor but also helps seasonings stick to the corn better.
- Proper Wrapping: Wrap each ear tightly in aluminum foil to lock in moisture; loose wraps can lead to dried-out corn.
- Avoid Overcooking: Stick to the 30-minute roasting time; longer can result in tougher kernels. Check for doneness by piercing a kernel with a fork.
- Season After Roasting: For an extra flavor boost, consider adding a sprinkle of fresh herbs or cheese after unwrapping your oven roasted corn on the cob.
How to Store and Freeze oven roasted corn on the cob
- Fridge: Store your oven roasted corn on the cob in an airtight container for up to 3 days. This keeps it fresh and ready for your next meal.
- Freezer: Wrap each ear tightly in plastic wrap and then place them in a freezer bag. They can be frozen for up to 3 months for later enjoyment.
- Reheating: To reheat, place the corn in a preheated oven at 350°F (175°C) for about 10-15 minutes until warmed through, or microwave for 1-2 minutes.
- Serving Tip: If you’ve added butter and seasonings, consider reheating with a little extra butter to enhance that delicious flavor!
oven roasted corn on the cob Your Way
Feel free to get creative and personalize your corn on the cob with these delightful variations!
- Spicy Kick: Add 1 teaspoon of cayenne pepper for a fiery twist. This will bring a warm heat that perfectly complements the sweet corn.
- Herbed Delight: Mix in 1 tablespoon of fresh chopped herbs like basil or cilantro before roasting. The vibrant flavors will elevate your dish, making it feel fresh and summery.
- Cheesy Goodness: Sprinkle grated Parmesan cheese over the corn just before serving. The salty, savory addition creates a delectable richness that’s hard to resist.
- Honey Glaze: Drizzle honey over the butter before roasting to create a sweet caramelized finish. This touch of sweetness pairs wonderfully with the natural flavor of the corn.
- Garlic Infusion: Add 2 cloves of minced garlic to the melted butter for a fragrant aroma and savory depth. This will transform your corn into an aromatic side dish that’s perfect for any gathering.
- Smoky Flavor: Use smoked paprika instead of regular paprika for an added depth and a hint of smokiness. It lends a barbecue essence that’s fantastic for summer cookouts.
- Zesty Lime: Squeeze fresh lime juice over the buttered corn just before serving. The citrus brightness cuts through the richness and adds a refreshing zing.
- Maple Sweetness: Substitute melted butter with maple syrup for a unique sweet twist. This variation brings an unexpected but delightful flavor profile that’s both cozy and summery.
Make Ahead Options

Preparing oven roasted corn on the cob is a fantastic way to streamline your meal prep, making it perfect for busy summer days or gatherings. You can husk and clean the corn up to 24 hours in advance, and brush each ear with melted butter, seasoning them with salt, pepper, and paprika (if desired) ahead of time. Just store them wrapped in foil in the refrigerator until you’re ready to cook. When it’s mealtime, simply preheat your oven to 400°F (200°C), place the wrapped corn on a baking sheet, and roast for 30 minutes. This ensures that you enjoy sweet, tender corn on the cob without any last-minute rush!
Your oven roasted corn on the cob Questions, Answered
What type of corn is best for oven roasting?
Fresh sweet corn is ideal for oven roasting. Look for ears that are plump and have bright green husks, indicating freshness. The kernels should be firm and milky when pierced. If you can, choose organic corn for the best flavor!
Can I use frozen corn instead of fresh?
While fresh corn on the cob yields the sweetest results, you can use frozen corn if you’re in a pinch. Just be sure to thaw it fully and adjust your cooking time accordingly; frozen corn typically requires less time to cook.
How should I store leftover oven roasted corn on the cob?
If you have any leftovers, let the corn cool completely before wrapping it tightly in aluminum foil or placing it in an airtight container. Store it in the refrigerator, where it will stay good for about 3–5 days. You can enjoy it cold or reheat it gently in the oven for a few minutes.
Can I freeze oven roasted corn on the cob?
Yes! To freeze your roasted corn, first allow it to cool completely. Then wrap each ear tightly in plastic wrap and place them in a freezer-safe bag. They can be stored in the freezer for up to 6 months, making them a great summer treat all year round!
What can I serve with oven roasted corn on the cob?
Oven roasted corn on the cob pairs beautifully with grilled meats, like chicken or steak, and makes a fantastic side dish for summer barbecues. For an extra touch, try serving it alongside a zesty lime butter or sprinkle with crumbled feta cheese after roasting.
How can I troubleshoot undercooked corn?
If your corn isn’t tender after the recommended 30 minutes of roasting at 400°F (200°C), simply rewrap each ear and return them to the oven for an additional 5–10 minutes. Keep an eye on them to ensure they don’t overcook; looking for that beautiful golden color is key!
Oven Roasted Corn on the Cob
Ingredients
Method
- Preheat the oven to 400°F (200°C).
- Husk the corn and remove all silk.
- Brush each ear of corn with melted butter and sprinkle with salt, pepper, and paprika if using.
- Wrap each ear of corn individually in aluminum foil.
- Place the wrapped corn on a baking sheet and roast in the preheated oven for 30 minutes.
- Remove from the oven, unwrap carefully, and serve hot.