
Easy Buffalo Chicken Wings Recipe for Perfect Game Day Snacks
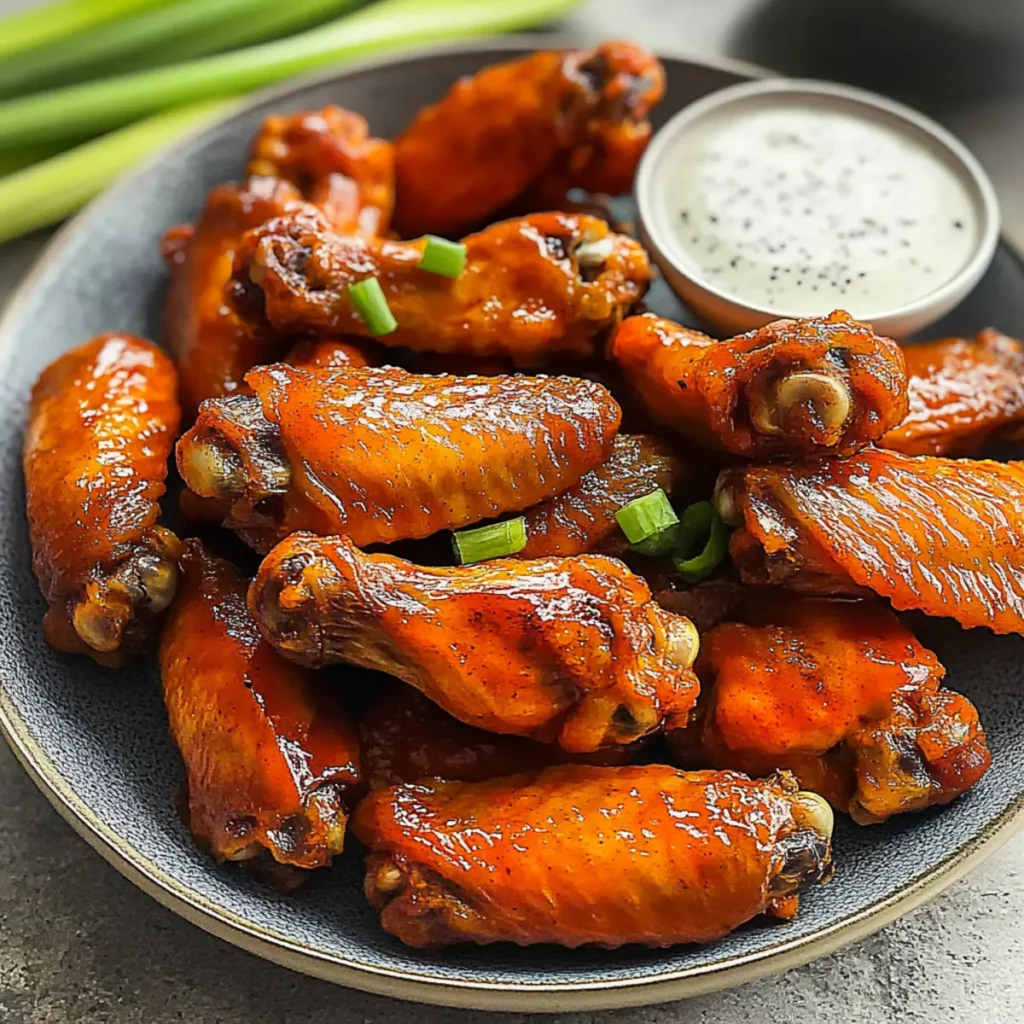
When it comes to Buffalo chicken wings, there’s just something uniquely irresistible about biting into a crispy, saucy piece of poultry that hits all the right flavor notes. Picture a golden exterior, fragrant with spices, and a luscious, tangy sauce that dances on your taste buds—it’s a magical experience, really! These are not just any chicken wings; they are the perfect game day snacks, family get-together staples, and should definitely be on your “must-cook” list for cozy movie nights. We’ve all had those moments when you walk into a gathering and get a whiff of something absolutely scrumptious—chances are, it’s a heavenly batch of Buffalo chicken wings waiting for you to devour them. I still remember the first time I tasted these delights at a friend’s Super Bowl party. You could say it was love at first bite, and now I’m committed to making my own to ensure I have a bucket of these beauties whenever the craving strikes. Let’s whip up a batch that brings that same joy to your table! Ingredients for Buffalo Chicken Wings Here’s what you’ll need to make this delicious Buffalo Chicken Wings: 2 lbs chicken wings – Look for fresh wings for the best flavor; frozen ones work fine too, just thaw them first. 1/2 cup Frank’s RedHot sauce – This is the classic choice that delivers that signature heat and tang. 1/4 cup unsalted butter – Use real butter for richness; you can substitute it with olive oil for a lighter version. 1 tsp garlic powder – This adds that aromatic punch that makes your wings pop! 1/2 tsp cayenne pepper – Adjust this based on your heat preference; less for milder wings. 1 tbsp white vinegar – This brightens up the sauce and balances the flavors perfectly. 1/2 tsp salt – Enhances the flavor of the chicken and the sauce. How to Make Buffalo Chicken Wings Follow these simple steps to prepare this delicious Buffalo Chicken Wings: Step 1: Preheat the Oven Preheat your oven to 400°F (200°C). Pat the chicken wings dry with paper towels to ensure they get crispy during baking. Step 2: Season the Wings In a large mixing bowl, toss the wings with salt, garlic powder, and cayenne pepper until they are evenly coated. This is where the magic begins, as the spices mingle and cling to each wing, setting the stage for amazing flavor. Step 3: Bake the Wings Arrange the seasoned wings on a lined baking sheet, ensuring they are spread out evenly. Bake for 40-45 minutes, flipping the wings halfway through to achieve an even crispy texture. Step 4: Prepare the Sauce While the wings are baking, melt the butter in a saucepan over low heat. Add the Frank’s RedHot sauce, white vinegar, and salt. Stir constantly until the sauce is well blended and heated through, about 5 minutes. Step 5: Toss and Coat Once your wings reach a glorious crispy state, take them out of the oven and toss them in the sauce until they’re completely coated. Feel free to taste the sauce—it’s practically a culinary sin not to! Step 6: Serve and Enjoy Transfer the wings to a platter and serve immediately. You can drizzle extra sauce over the top for a more intense flavor experience. They’re perfect for dipping, so don’t forget those celery sticks and blue cheese dressing! Buffalo chicken wings are not just a meal—they’re an experience that brings everyone together. So whether you’re hosting friends for game day or simply craving a crispy, spicy treat, this recipe will have your taste buds dancing and your guests begging for more! Enjoy your wings, and may every bite bring you delicious happiness. Why wait any longer? Roll up your sleeves, don your apron, and let’s get these Buffalo chicken wings sizzling in the oven! Perfecting Buffalo Chicken Wings Cooking Process To make the best Buffalo Chicken Wings, start by patting the wings dry to ensure crispiness. Season them well before baking them until golden. While they cook, prepare the tangy sauce for the ultimate flavor fusion. Add Your Touch to Buffalo Chicken Wings Feel free to customize these wings to your palate. Swap Frank’s sauce for your favorite hot sauce, add honey for sweetness, or sprinkle with garlic and Parmesan for a cheesy twist. The possibilities are as endless as your imagination! Storing & Reheating Buffalo Chicken Wings Store leftover wings in an airtight container in the refrigerator for up to three days. To reheat, place them on a baking sheet and warm them in a preheated oven at 375°F (190°C) until crispy again, about 10-15 minutes. Making these Buffalo Chicken Wings reminds me of a game day with friends. After serving them, I could barely keep up with the requests for the recipe! Everyone went wild over the crispiness and bold flavors. It truly turned a typical afternoon into a memorable feast. FAQs About Buffalo Chicken Wings What are Buffalo Chicken Wings? Buffalo Chicken Wings are a popular appetizer that originated in Buffalo, New York. They consist of deep-fried chicken wings coated in a flavorful, spicy sauce made primarily from hot sauce and butter. These wings are often served with celery sticks and either blue cheese or ranch dressing for dipping. Enjoyed at sports events, parties, or gatherings, Buffalo Chicken Wings are beloved for their bold flavor and crispy texture, making them a favorite comfort food for many. How do I get my Buffalo Chicken Wings extra crispy? To achieve extra crispy Buffalo Chicken Wings, start by patting the wings dry before seasoning. The drier the skin, the crispier they will get during baking. Baking at a high temperature is key, so preheat your oven correctly. Flipping them halfway through the cooking process will help ensure even crispiness. For an even crunchier finish, consider broiling the wings for a few minutes after baking to get that desired golden brown effect. Can I make Buffalo Chicken Wings in advance? Yes, you can make Buffalo Chicken Wings in advance! You can
Delicious Pepperoni Pizza Dip Recipe for Perfect Parties
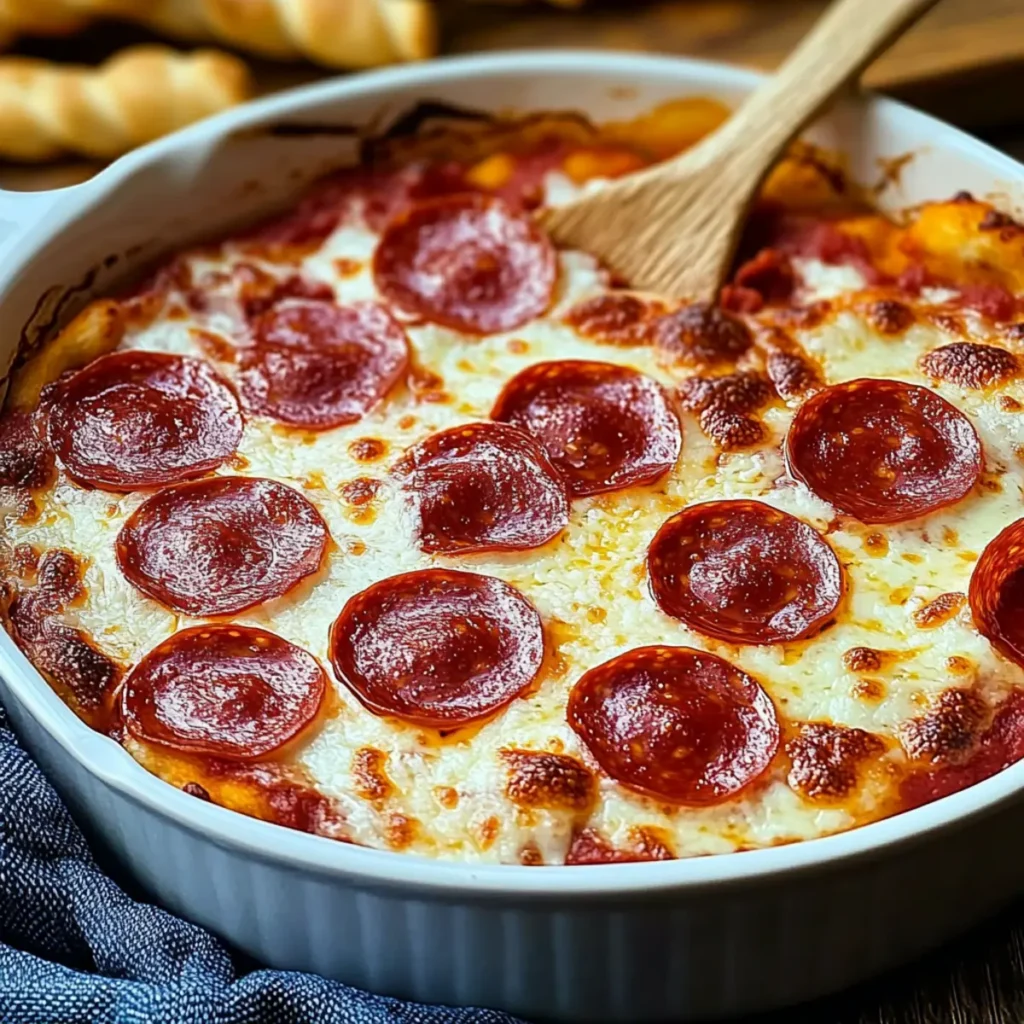
There’s something magical about the combination of creamy cheese, zesty pepperoni, and the soulful aroma of pizza wafting through your kitchen. The Pepperoni Pizza Dip is all that and more—a warm, oozy, decadent dip that brings together friends and family over shared laughter and deliciousness. Picture this: a gathering gets louder and more animated as everyone dives into that bubbly, golden goodness, leaving no chip unturned. I recall a party I hosted where this Pepperoni Pizza Dip stole the show. Friends came for the company but stayed for every gooey, cheesy bite. Whether it was game night or an impromptu barbecue, this dish effortlessly makes any occasion feel like a celebration. With its inviting aroma and rich flavors, it’s the kind of dip that leaves a trail of happy sighs in its wake, promising delightful taste experiences that keep everyone coming back for more. Ingredients for Pepperoni Pizza Dip Here’s what you’ll need to make this delicious Pepperoni Pizza Dip: 8 oz cream cheese – At room temperature for easy mixing, this creamy base gives richness to the dip. 1 cup sour cream – This ingredient adds tanginess and balances the richness of the cheeses. 2 cups shredded mozzarella cheese – Choose high-quality cheese for optimal melt and stretch; it forms the gooey layer we all love. 1 cup mini pepperoni slices – All the flavor of traditional pepperoni, but in bite-sized pieces for popping into your mouth! 1 cup pizza sauce – Grab your favorite brand or make your own for that bonus taste; it ties the entire dish together. 1 tsp Italian seasoning – A sprinkle to take you to flavor country with a touch of herby aromatic goodness. How to Make Pepperoni Pizza Dip Follow these simple steps to prepare this delicious Pepperoni Pizza Dip: Step 1: Preheat and Prep Preheat your oven to 350°F (175°C) while you gather your tools. You’ll need a mixing bowl and a baking dish for this cheesy masterpiece. Step 2: Mix the Base In a mixing bowl, thoroughly blend the softened cream cheese with the sour cream until it reaches a smooth, creamy texture. Make sure to put some elbow grease into this step; the smoother the mixture, the better your dip will be. Step 3: Add Flavor Gradually stir in 1½ cups of shredded mozzarella, half of those cute mini pepperoni, the pizza sauce, and the aromatic Italian seasoning. You’re basically creating a party of flavors that’s begging to come to life in the oven. Step 4: Transfer and Even Out Scoop that flavorful mixture into an oven-safe baking dish and spread it evenly across the bottom. We want everything to bake perfectly, so smooth it out like frosting on a cake. Step 5: Top It Off Sprinkle the remaining mozzarella generously on top of your dip. Then, artfully arrange the rest of the mini pepperoni over it. This is the part where your dip can truly shine—be generous, we want that ooey-gooey goodness to show. Step 6: Bake to Perfection Pop that masterpiece into the oven for 20-25 minutes, or until it’s bubbly and golden brown on top. The waiting will be torturous, but trust me, it will be worth it! Once it’s out of the oven, let it cool slightly before diving in. You can serve it hot with tortilla chips, breadsticks, or crunchy vegetable sticks for dipping. There’s no wrong way to demolish this dip. Whether you’re hosting a party or just indulging in a movie night, your Pepperoni Pizza Dip will typically vanish before you know it—leaving only happy faces and a sense of deep satisfaction in the air. Just remember, it’s not just a dip; it’s a party in a dish, a crowd-pleaser, and a time-filler that creates memories with each cheesy bite. So, preheat that oven, gather your ingredients, and get ready to dig into a fan-favorite! Perfecting Pepperoni Pizza Dip Cooking Process To achieve the most delectable Pepperoni Pizza Dip, start by preheating your oven and combining the cream cheese and sour cream until smooth. While that’s blending, keep your pizza sauce and cheese nearby for seamless assembly. Add Your Touch to Pepperoni Pizza Dip Feel free to mix things up by adding diced bell peppers, onions, or even a touch of spicy jalapeños for heat. Experiment with different cheeses like cheddar or provolone to create your ultimate dip masterpiece. Storing & Reheating Pepperoni Pizza Dip Store leftover Pepperoni Pizza Dip in an airtight container in the fridge for up to three days. When ready to enjoy again, gently reheat it in the oven until warm and bubbly. The first time I made Pepperoni Pizza Dip for a gathering, my friends were raving about it. One of them insisted I should start a food blog to share this glorious creation. Guess what? Here we are, and it’s still a crowd-pleaser! FAQs About Pepperoni Pizza Dip What is Pepperoni Pizza Dip? Pepperoni Pizza Dip is a creamy, cheesy appetizer that brings the delightful flavors of pizza straight to your dipping experience. It typically includes cream cheese, sour cream, mozzarella cheese, mini pepperoni slices, pizza sauce, and Italian seasoning. When baked, this dip becomes irresistibly bubbly and golden, making it a perfect choice for parties, game days, or casual get-togethers. Serve it warm with tortilla chips, breadsticks, or fresh veggies for a deliciously fun experience that everyone will love. How do you serve Pepperoni Pizza Dip? Serving Pepperoni Pizza Dip is straightforward and fun! Once it’s baked to perfection and bubbly, you can use a variety of dippers. Tortilla chips, crunchy breadsticks, or even fresh vegetable sticks like celery or bell peppers work wonders. For an elevated touch, arrange your dippers on a colorful platter and sprinkle some additional cheese or pepperoni on top of the dip for a mouthwatering display. This ensures a memorable mingling of flavors and a feast for the eyes too! Can I customize my Pepperoni Pizza Dip? Absolutely! One of the best aspects of Pepperoni Pizza Dip is its